

You've fed your starter, waited patiently, and checked the jar several times, only to find a flat paste, a sharp smell, or an alarming layer of liquid. Perhaps you've tried creating a culture from flour and water, watched it bubble briefly, then wondered whether you'd done something wrong. A sourdough starter kit can remove much of that uncertainty, but the most useful kit isn't a jar of culture. It should help you maintain a mature starter, choose suitable flour, understand temperature, and fit fermentation around ordinary UK routines.
Sourdough is becoming a familiar part of British bread buying. Mintel reports that 25% of UK bread buyers bought sourdough at least monthly in 2025, compared with 18% in 2024, while sourdough represented 15% of bread-category launches in 2024, up from 11% in 2020. Mintel's UK bread market report also found that 28% of bread eaters and buyers wanted more sourdough, so there's a substantial audience interested in baking it at home.
Table of Contents
- Why a Mature Culture Beats Starting from Scratch
- Choosing the Right Sourdough Starter Kit
- Feeding Routines and Temperature Control
- Matching UK Flours to Your Starter
- Realistic Storage for Infrequent Bakers
- Troubleshooting Common Starter Issues
Why a Mature Culture Beats Starting from Scratch
Starting a sourdough culture from flour and water sounds wonderfully simple. In practice, the first stage can feel like trying to establish a small garden without knowing which seeds will germinate. The jar may become lively, then go quiet. It may smell fruity, acidic, or unpleasant. A new baker can easily mistake early activity for a stable culture, bake too soon, and blame their dough when the actual problem was an immature starter.
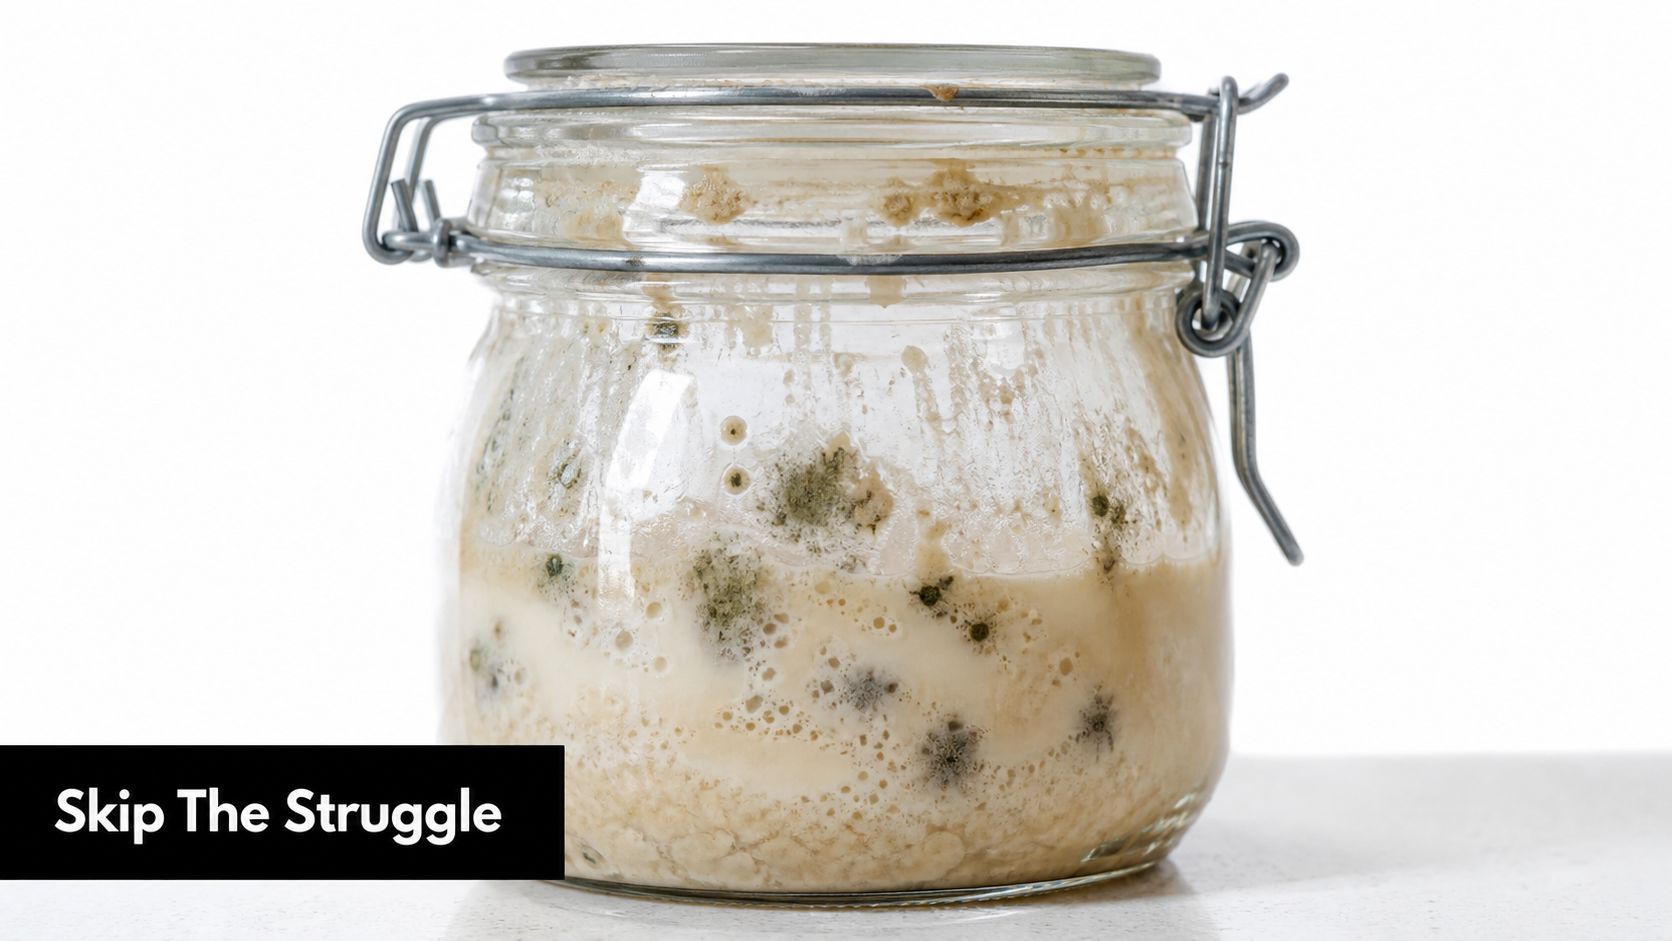
A scratch starter depends on the microorganisms present in the flour, water, jar, and kitchen environment. Those organisms need time to settle into a dependable balance. A jar can show bubbles without having enough strength to raise a loaf, rather like a kettle beginning to warm without reaching a boil.
A mature culture changes the starting point. Instead of asking a beginner to manage the uncertain establishment stage, a live heritage culture provides an active community of wild yeast and lactic acid bacteria that has already been maintained through repeated feeding. The baker still needs to care for it, but the early work becomes refreshing and observing, rather than guessing whether fermentation has begun correctly.
Practical rule: bubbles are evidence of activity, not proof that a starter is ready to leaven bread.
UK bread remains an everyday food. The Sustainable Food Trust, reported by The Grocer's coverage of home baking, notes that 99.8% of British households buy bread and that around 11 million loaves are sold each day in the UK. The same reporting describes a population in which many people still bake infrequently or not at all. That creates a useful role for a starter kit: it gives regular bread buyers a less intimidating route into baking from scratch.
What the mature culture removes
A dependable culture doesn't eliminate every variable. Flour changes, kitchens cool, and feeding times drift. It does, however, remove one of the most common beginner obstacles: waiting for an unknown mixture to become a reliable fermentation engine.
With an established starter, you can focus on practical signals:
- Rise: the level increases after feeding and later falls.
- Texture: the mixture becomes aerated, elastic, and webbed inside the jar.
- Aroma: it develops a pleasantly tangy, yeasty, or lightly fruity smell.
- Timing: the pattern becomes repeatable under similar conditions.
The aim isn't to create a culture that never changes. A healthy starter is responsive. The useful achievement is learning how it behaves after a measured feed in your own kitchen.
A mature heritage culture also suits bakers who have already failed once. You don't need to interpret a mouldy jar as a verdict on your ability. You can begin again with a living culture, a clear routine, and enough visual guidance to recognise progress before mixing your first dough.
Choosing the Right Sourdough Starter Kit
A good kit solves specific problems. It doesn't need to fill your kitchen with gadgets. Start by separating culture care from bread production. If you already own a digital scale, a mixing bowl, and a baking vessel, a live starter and suitable jar may be enough. If you're building a home setup from the beginning, a broader package can prevent you from buying mismatched tools one at a time.
| Component | Purpose | Why It Matters |
|---|---|---|
| Live or prepared starter culture | Provides the fermenting base | A mature culture gives you a more dependable starting point than an untested flour-and-water mixture |
| Clear jar with headroom | Holds the starter during feeding and fermentation | Space reduces overflow, while transparent sides make growth easy to observe |
| Digital scale | Measures starter, flour, and water by weight | Weight-based feeding keeps hydration and refreshment consistent |
| Rise marker or printed tracker | Records the level immediately after feeding | You can see whether the starter has doubled, peaked, or fallen |
| Feeding instructions | Sets out ratios and timing | Clear guidance prevents random changes when activity slows |
| Thermometer | Checks the starter's environment or water temperature | Temperature explains many differences in fermentation speed |
| Dough scraper | Helps handle sticky dough and clean the work surface | Useful for bread making, but not essential for maintaining the starter |
| Banneton | Supports shaped dough during proofing | Valuable for regular bread baking, unnecessary if you're only caring for a culture |
| Scoring tool | Cuts the dough before baking | Helpful for finished loaves, not part of starter maintenance |
Match the kit to your kitchen
A starter-only option suits someone who owns a jar and scale but wants a dependable culture. A beginner kit should add the essentials that prevent guesswork, particularly a clear container, feeding guidance, and some way to track rise. An all-inclusive home bakery kit may include a scraper, proofing basket, scoring tool, or baking sling for someone who wants to move directly from feeding to shaping and baking.
A personalised jar with an engraved lid can make the routine feel organised, but its practical value comes from the visible rise marker rather than the decoration. Mark the starter's level after feeding. If it rises above the mark and later drops, you have useful evidence of the fermentation cycle. Without that reference point, “a few bubbles” can mean almost anything.
The scale is the item I'd protect most carefully. Volume measures vary with how flour settles and how thick the starter is. Measuring by weight lets you repeat the same refreshment and compare one feeding with the next. A thermometer can also earn its place in a cool kitchen, but you don't need a collection of specialist equipment to maintain a culture.
The Sourdough Cult offers a live starter cultivated from a long-maintained family culture in Cheshire, alongside options that range from starter-only supplies to broader kits with practical equipment and printed or digital care guidance. It's one example of a product range organised around the distinction between a culture and a complete home baking setup.
Feeding Routines and Temperature Control
Your starter responds to two main controls: how much fresh flour and water it receives, and how warm it remains while fermenting. If either changes dramatically, the timing changes too. That isn't a sign of failure. It means the culture is reacting to its surroundings.
For a straightforward refreshment, use a 1:1:1 ratio by weight. For example, retain one part starter, then add one part flour and one part water. The quantities themselves can be small, provided the proportions remain consistent. Mix thoroughly, scrape down the inside of the jar, and mark the level.
UK guidance places useful starter activity around 20 to 24°C, as described in this UK sourdough process guide. A British kitchen may sit below that range, particularly overnight or in winter. Keep the jar away from cold draughts, direct heat, and bright sunlight. A stable worktop location is often better than moving it repeatedly between rooms.
A repeatable countertop routine
- Retain a measured amount. Remove excess before feeding if your jar is becoming crowded.
- Add equal weights of flour and water. Use the ratio supplied with your culture if it differs from the standard refreshment.
- Mix until no dry flour remains. Scrape the sides so the rise can be read clearly.
- Mark the starting level. A rubber band, clip, or printed tracker works well.
- Keep it in a steady environment. Aim for the recommended temperature range rather than chasing warmth.
- Feed daily or every other day when kept at room temperature. Adjust according to how quickly it peaks and falls.
A feed using 24°C water and wholemeal flour can encourage early activity, according to BBC guidance on sourdough. Wholemeal flour contains more of the grain than refined white flour, which can make it useful when a culture needs encouragement. Watch the starter rather than obeying the clock: the rise, texture, and smell tell you whether the feed has taken effect.
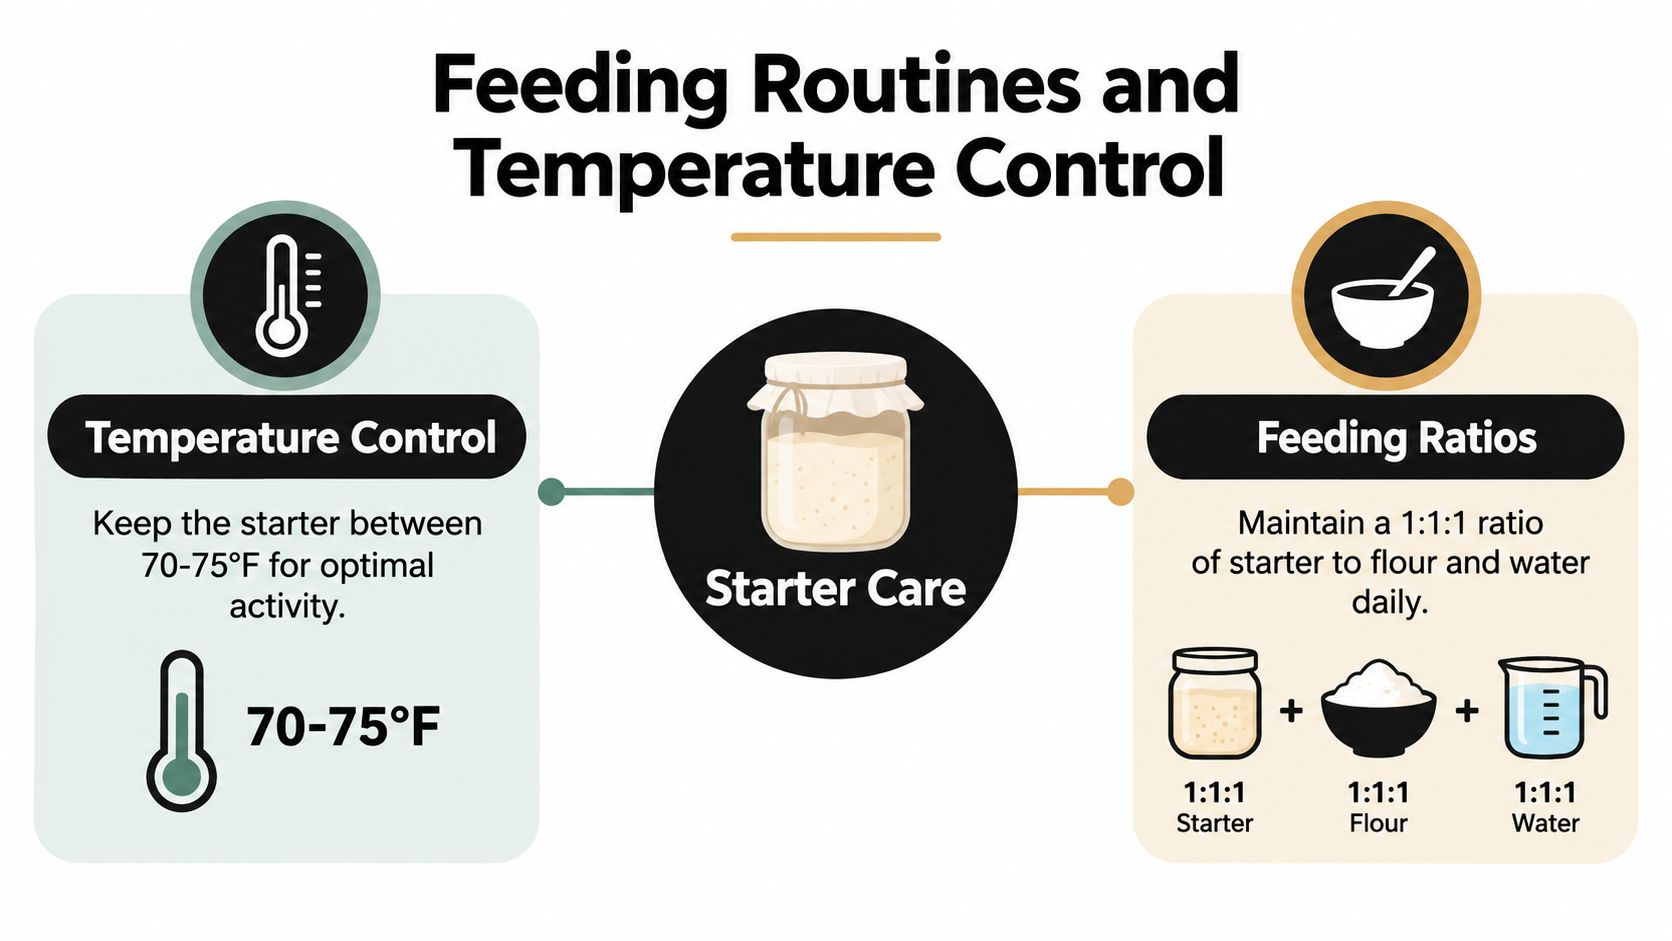
The strongest visual cue is a starter that rises predictably and reaches a rounded or slightly domed top before beginning to recede. A webbed interior shows trapped gas, while a watery, collapsed mixture suggests that the culture has moved beyond its peak or needs a more suitable feeding routine.
For a detailed discussion of timing, compare this guide to how often to feed a sourdough starter. The useful question isn't “Has it bubbled?” but “Does it rise reliably after feeding under these conditions?”
Matching UK Flours to Your Starter
Flour isn't a neutral background ingredient. It supplies the starches and minerals that the culture uses, and different grains can alter fermentation speed, aroma, acidity, and texture. Treating every flour as interchangeable makes it harder to understand why the same feeding schedule behaves differently from one bag to the next.
Strong white bread flour is a useful everyday choice when you want a relatively steady routine. It produces a pale, smooth starter and makes its rise easy to observe. For a culture that is already active, keeping the flour consistent for several feeds can help you establish a clear baseline before experimenting.
Wholemeal wheat flour often gives a culture more of the grain and can be useful when activity has slowed. It usually produces a denser mixture and can ferment more energetically than a refined white flour. Because the texture and rise may look different, use the jar mark and feeding weight rather than comparing it visually with a white-flour starter.
Rye and heritage grains
Rye flour is often a powerful addition when a starter feels sluggish. It absorbs water differently from white flour and can create a thick, sticky mixture that doesn't behave like a smooth wheat starter. The rise may be less dramatic even when fermentation is active, so judge it by aroma, bubbles, and the pattern after feeding.
A small proportion of rye or wholemeal flour can be introduced without changing the entire routine. Keep notes when you switch. Record the flour, water, room conditions, and the time taken for the starter to rise. That simple record turns experimentation into a useful comparison rather than a sequence of guesses.
Heritage grains deserve the same care. UK bakery coverage reports growing interest in authenticity on pack, rye, and heritage grains, while a UK trend report describes crusty textures as rising in online discussion in 2025 and projects further growth in 2026. Speciality Food Magazine's UK home baking coverage points towards a consumer interest that goes beyond the word “sourdough”. Bakers want to know what grain they're using, where it comes from, and how it affects the loaf.
Change one variable at a time
If you move from strong white flour to a local stoneground wholemeal, don't also alter the hydration, feeding ratio, and temperature on the same day. Make one change, observe the culture, and adjust gradually. This is especially important with heritage flours, which can produce different viscosity and gas retention from modern strong bread flour.
The UK guide to flour for sourdough starter can help you compare flour types in a UK baking context. Your best flour is the one that supports a repeatable routine and suits the bread you want to eat, not necessarily the most fashionable bag on the shelf.
Realistic Storage for Infrequent Bakers
Daily countertop feeding suits someone who bakes often. It doesn't suit a person who makes bread at weekends, during school holidays, or whenever work leaves enough energy for a slow morning. If daily care becomes a chore, the starter gets neglected and the baker eventually gives up. Refrigeration exists to make the culture fit your life.
Cold storage slows fermentation rather than stopping it completely. UK guidance differs on how long a refrigerated culture can remain viable, so use the storage instructions supplied with your starter and look for its condition when you bring it out. One UK source describes refrigeration as extending maintenance to about weekly, while other guidance discusses much longer survival with periodic refreshment. The practical answer depends on the culture, flour, container, fridge temperature, and how well it was fed before storage.
A low-effort storage pattern
Before refrigeration, feed the starter and allow it to begin fermenting at room temperature. Once it shows activity, cover the jar without sealing it so tightly that pressure cannot escape, then place it in the fridge. Keep the jar clean, leave headroom, and write the feeding date on the label.
For a baker who uses the starter at weekends, a weekly check and refreshment can be a sensible starting routine. Someone baking less often can follow the culture's care guidance and inspect it before deciding whether it needs a stronger series of feeds. Don't assume that a quiet refrigerated jar is dead. Cold reduces visible activity, so the culture needs time to warm and respond.
Storage principle: refrigerate the culture to reduce the work, then plan enough revival time before baking day.
When you're ready to bake, take the jar from the fridge, bring it towards room temperature, and refresh it with measured flour and water. Repeat the feed as needed until the starter rises predictably and reaches a lively peak. Build the quantity required for the recipe only after the culture has regained strength. A starter that has been cold for a while may smell sharp or show liquid on top, but that alone doesn't prove contamination.
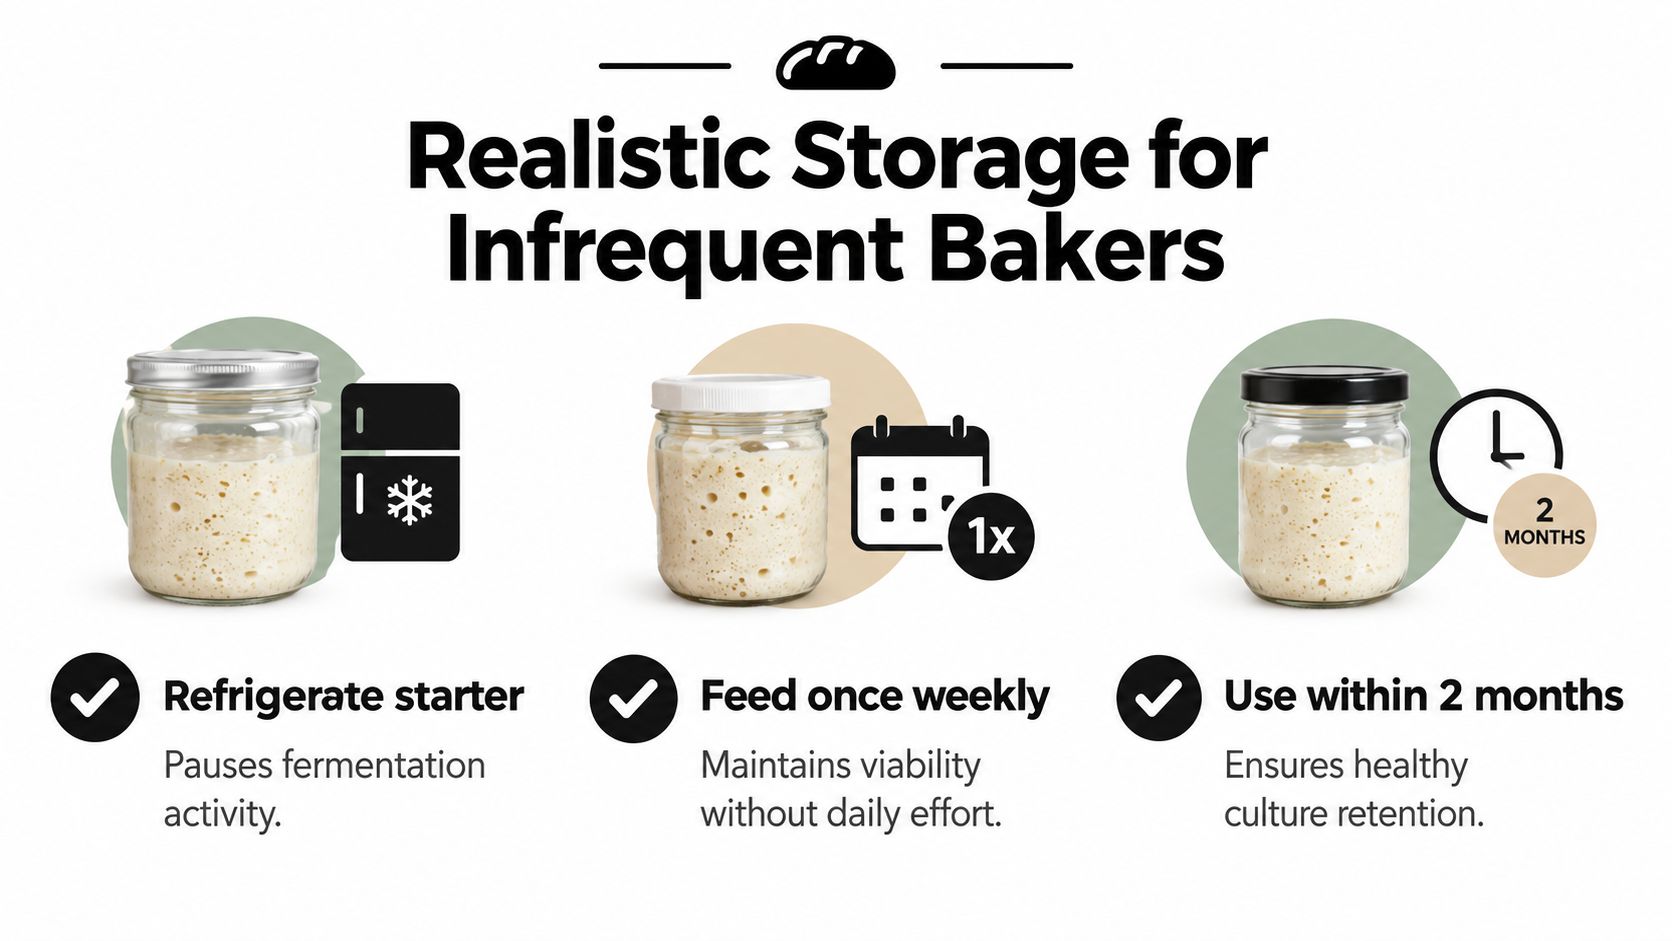
For holidays, feed the culture before leaving, store it cold, and avoid filling the jar close to the rim. The longer it remains unattended, the more important it becomes to inspect for unusual colour, fuzzy growth, or an unmistakably spoiled smell before feeding. The holiday care guidance for sourdough starter offers a useful reference for planning storage around travel.
Troubleshooting Common Starter Issues
A starter that looks strange isn't automatically ruined. Fermentation produces changing smells, bubbles, separation, and liquid. The important distinction is between a culture that is hungry or inactive and one that shows clear signs of contamination.
A dark or greyish liquid layer, often called hooch, commonly appears when the starter has used much of its available food. You can pour it off or mix it back in, depending on the flavour and consistency you want, then feed the culture. A sharp alcoholic aroma also suggests hunger rather than immediate failure, provided there's no visible mould or abnormal colour.
Use evidence, not one dramatic sign
Check the jar from several angles and compare it with its previous state. Look for fuzzy growth, pink or orange discolouration, or a smell that is clearly rotten rather than acidic or yeasty. If those contamination signs appear, discard the culture. Scraping away a visible patch isn't a reliable rescue method because contamination may extend beyond what you can see.
If the starter isn't rising, work through the likely causes:
- Temperature: move it to a steadier, warmer place within the recommended range.
- Feeding: return to a measured weight-based ratio rather than adding flour by eye.
- Flour: use wholemeal or a little rye for a few refreshment cycles if the culture seems weak.
- Timing: give the starter enough time to ferment before feeding again.
- Jar condition: clean the sides and leave sufficient headroom for expansion.
A starter that is too runny may rise quickly and collapse before you notice. A very stiff culture can ferment without showing an impressive increase in height. Adjust the water carefully, but change one variable at a time so you can identify what helped.
The float test is not a verdict
The float test can be a useful rough indication when a starter is very aerated, but it shouldn't replace observing the rise-and-fall pattern. A starter may contain enough trapped gas to float while still lacking dependable strength for your dough. Conversely, a thick or recently stirred culture may sink even though it is healthy.
The better test is repeatability. Feed the culture, mark the level, and watch whether it rises, peaks, and begins to recede under known conditions. Once that pattern is reliable, use the starter near its peak for mixing dough.
A sourdough starter kit earns its keep when it makes these observations easier. A clear jar, measured feeds, a rise marker, and instructions for refrigeration turn an alarming jar into a manageable routine. Fermentation isn't perfectly mechanical, but it becomes much less mysterious when you track the few variables that matter.
The Sourdough Cult offers live starter from a long-maintained Cheshire family culture, plus practical options such as starter-only supplies, beginner kits, and broader home baking equipment. Visit The Sourdough Cult to choose a setup that matches your flour, feeding routine, and baking schedule.


